Hebei KeWang Rubber Products Co., Ltd.
 Business License
Main Products: Rubber Dam, sluice, Hydraulic elevator dam, Water conservancy engineering materials

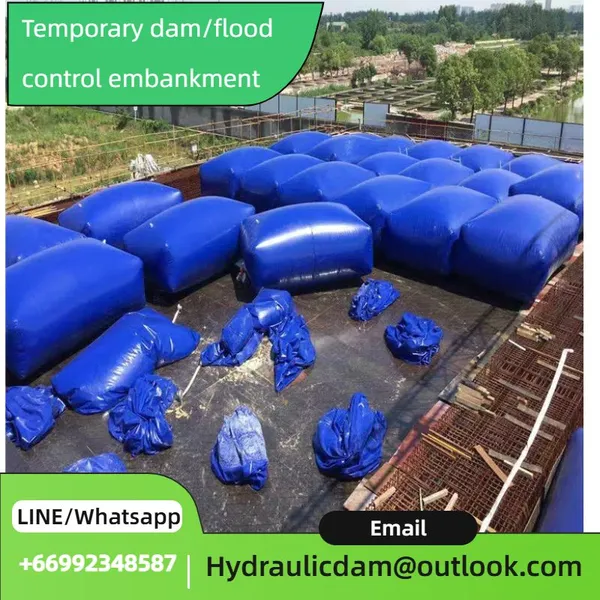
How to Use PVC Temporary Water Barriers: A Step-by-Step Guide
Mr. Liu
July 21, 2025
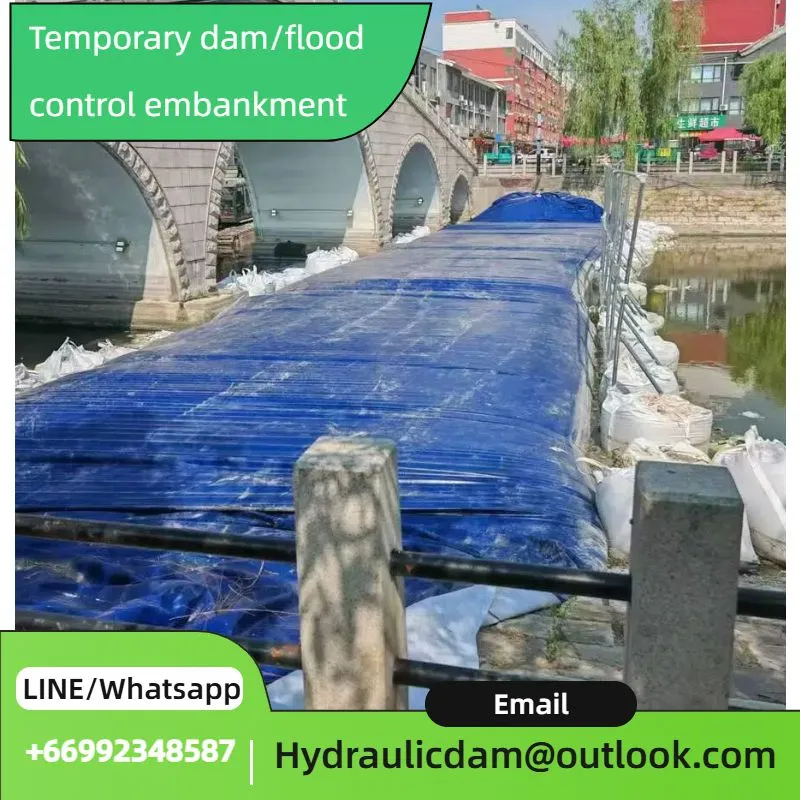
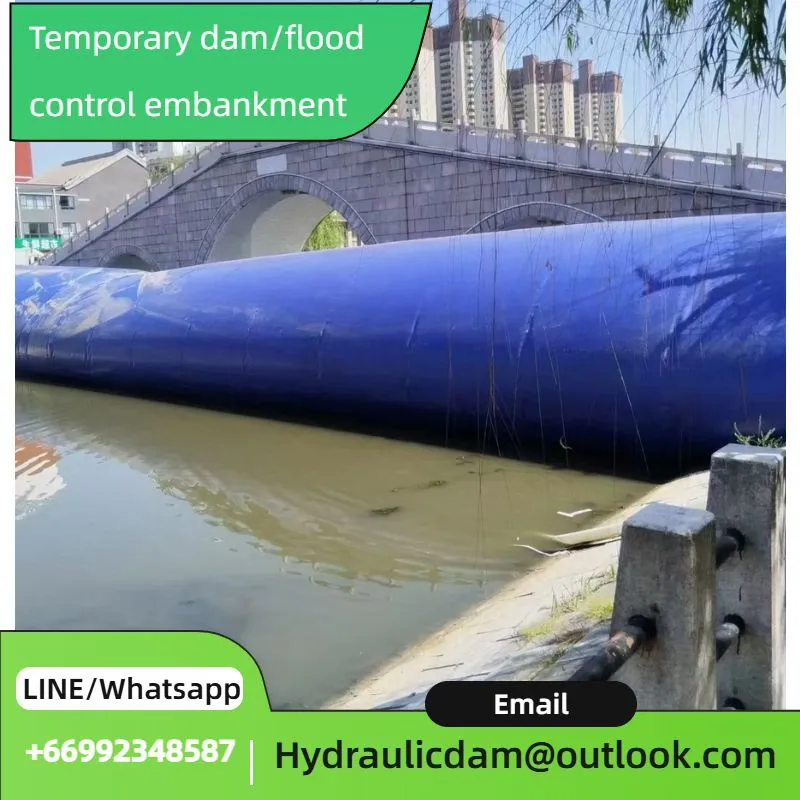
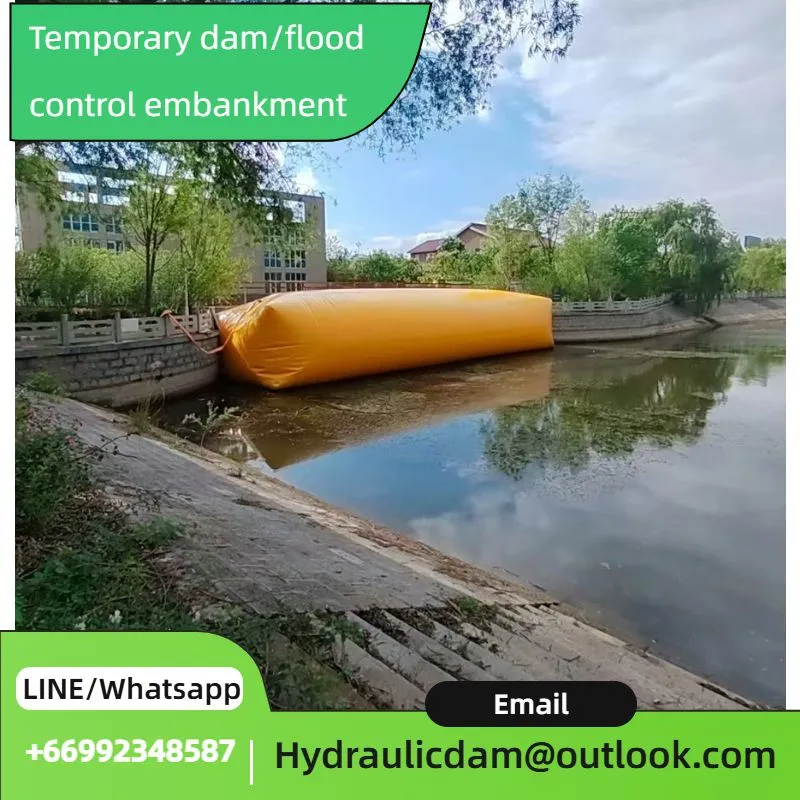
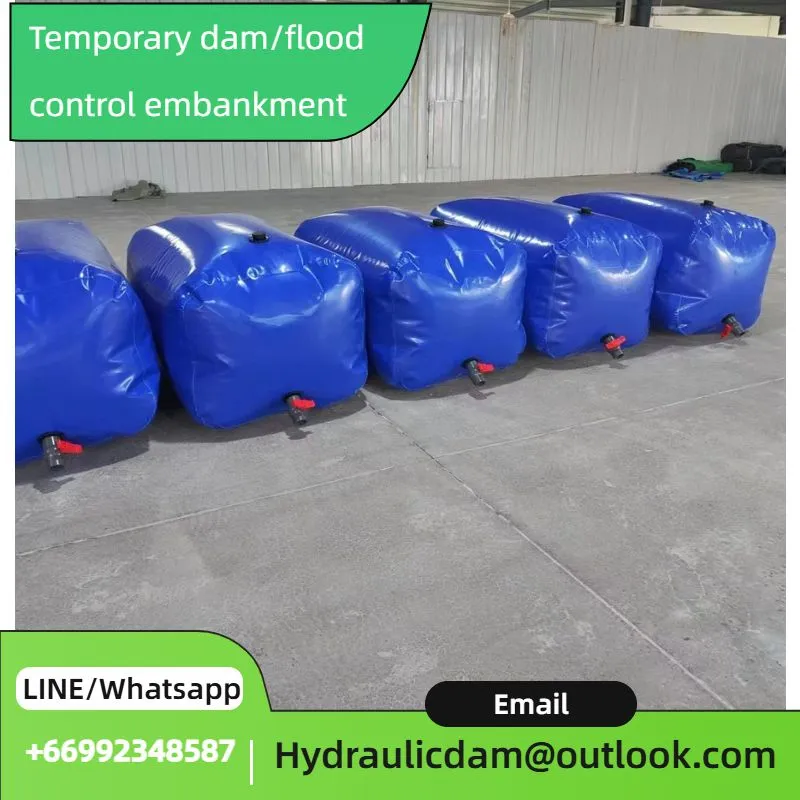
When floodwaters rise or construction sites need a quick water barrier, PVC temporary water barriers stand out as a versatile and easy-to-use solution. Lightweight yet tough, these inflatable or modular structures can be deployed by a small team in hours, turning from a compact roll into a robust water block. Here’s a step-by-step look at how to put them to work, whether you’re guarding a neighborhood, a worksite, or a critical infrastructure.
Pre-Deployment: Site Prep and Inspection
Before unrolling a single inch of PVC, start with a thorough site check. Walk the area where the barrier will go—look for sharp rocks, debris, or uneven terrain that could puncture the PVC or weaken the seal. Clear away sticks, broken glass, or metal scraps; even a small nail can cause a leak once water pressure builds. For soft ground like mud or grass, lay down a geotextile fabric (a permeable synthetic material) to create a smooth base, preventing the barrier from sinking or shifting.
Next, inspect the PVC barrier itself. Check for cracks, holes, or worn seams, especially if it’s been stored for months. Inflatable models should come with a repair kit—keep it handy, just in case. Lay the barrier flat on a clean surface and unroll it partially to ensure the valves (for inflatable types) or connection points (for modular designs) are intact. If using an inflatable barrier, test the pump briefly to make sure it’s working; a battery-powered or gas pump is ideal for remote sites without electricity.
Assembly: From Roll to Barrier
For inflatable PVC barriers (the most common type), the assembly starts with positioning. Roll the barrier into place along the desired line—this is easiest with two people, one at each end, to avoid dragging it over rough spots. Once aligned, secure the ends first: drive steel stakes through the built-in loops at each end, angling them away from the barrier to anchor it firmly.
Then, connect the pump to the inflation valve. Most barriers have a dual valve system: one for rapid inflation, another for fine-tuning pressure. Start pumping, keeping an eye on the pressure gauge (if included) or the barrier’s shape—over-inflating can strain the seams. As it inflates, the PVC will rise slowly, forming a curved or rectangular wall. Pause periodically to adjust the position; if one side is higher than the other, gently tug the base to level it out. Once fully inflated (typically when it’s firm to the touch but not rock-hard), close the valves tightly and cap them to prevent air loss.
For modular PVC barriers (interlocking panels), the process is slightly different. Each panel has grooves or clips that fit into the next—start with the first panel, stake it down, then attach the second, locking them together until the entire length is connected. These are great for uneven ground, as each panel can be adjusted individually to follow the terrain. Seal the joints with a PVC-compatible adhesive tape for extra watertightness, especially in heavy flow areas.
Sealing the Base: The Key to No Leaks
Even the sturdiest PVC barrier will fail if water seeps under the base. To create a tight seal, focus on the bottom edge. For inflatable barriers, once fully inflated, walk along the base and press down firmly—water pressure will help it mold to the ground, but a little manual pressure ensures no gaps. For areas with small dips, pile a thin layer of sand or soil along the base, pressing it against the PVC with a shovel to form a “berm” that blocks seepage.
On concrete or asphalt (like parking lots or industrial sites), use a water-based sealant tape designed for PVC. Apply it along the base where the barrier meets the surface, pressing out air bubbles to create a bond. This is crucial for flat, hard surfaces where water can easily find a path underneath.
Testing and Adjustment
Before relying on the barrier in a crisis, test it with a small amount of water. Use a hose to spray the base and lower sections—watch for leaks. If you spot a trickle, add more sand to the berm or patch a small hole with the repair kit (clean the area, apply the adhesive patch, and let it dry for 10–15 minutes). For inflatable barriers, check the pressure again after an hour—temperature changes can cause air to expand or contract, so a slight top-up might be needed.
In high-wind areas, add extra stakes along the barrier’s length, spacing them 3–5 feet apart, to prevent it from tipping over. For modular barriers, connect cross-braces (if included) between panels to add stability against strong currents
Share
Recently Posted
-
The Application of Cast Iron Gates in Farmland Irrigation
September 3, 2025In the realm of modern agriculture, efficient water management is the linchpin for ensuring bountiful harvests. Farmland irrigatio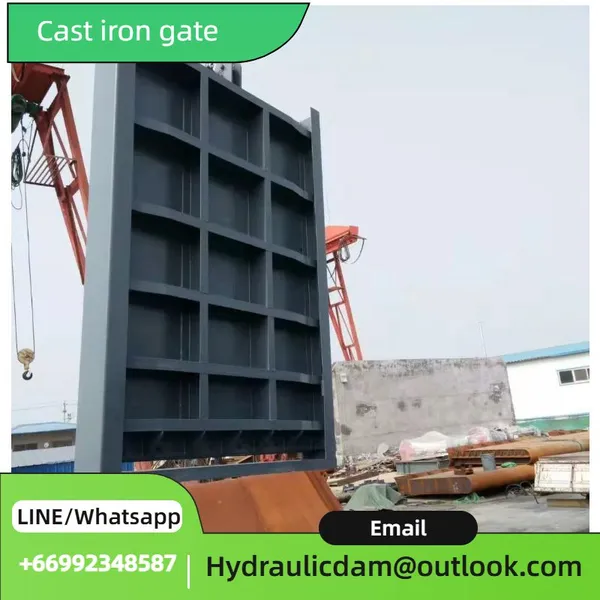 Read More
 -
Flood Sub-Dikes: The Reliable Sidekicks in Water Conservancy Projects
July 21, 2025In the grand theater of water conservancy projects, where mighty dams stand tall and sprawling levees stretch for miles, flood sub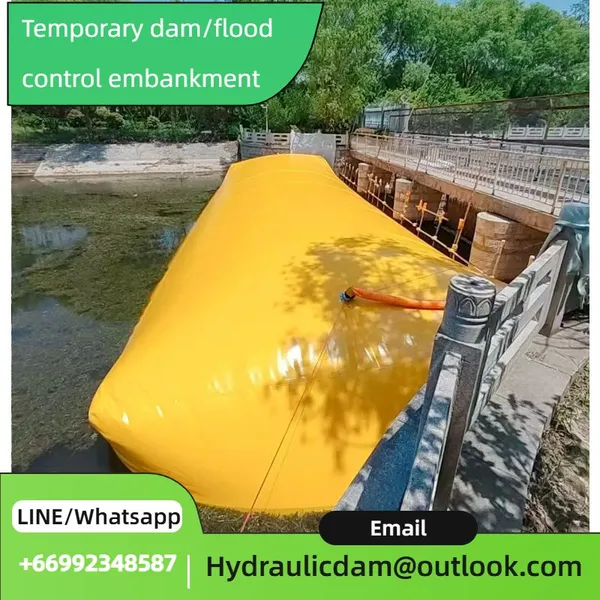 Read More
 -
PVC Temporary Cofferdams: The Unsung Heroes in Flood Defense
July 21, 2025When the rain pours relentlessly and rivers start to bulge, turning peaceful neighborhoods into potential disaster zones, there’s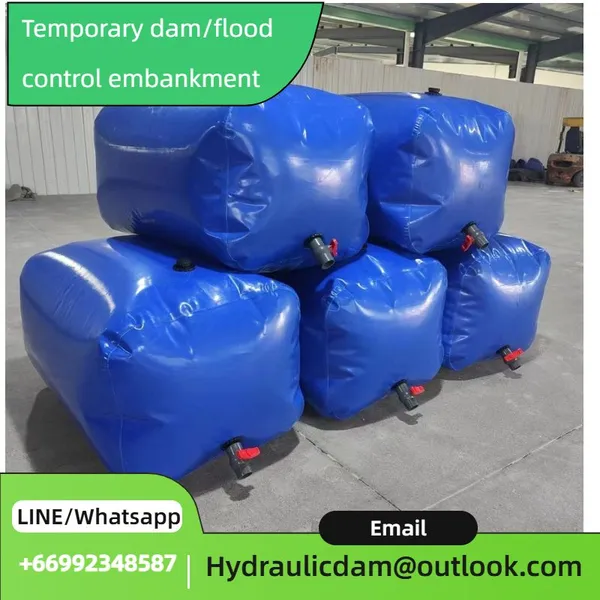 Read More
 -
PVC Temporary Cofferdams & Water Barriers: Versatile Applications Across Industries
July 21, 2025Polyvinyl chloride (PVC) has emerged as a game - changing material in the realm of temporary water control, particularly in the co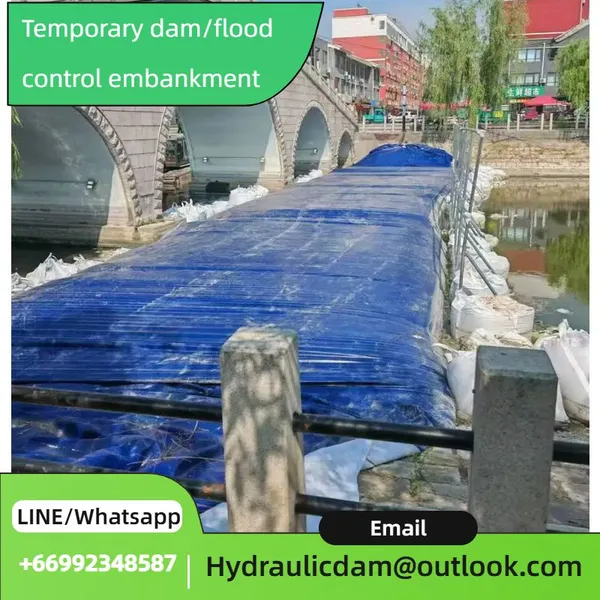 Read More

Contact Us
Recommended Products
-
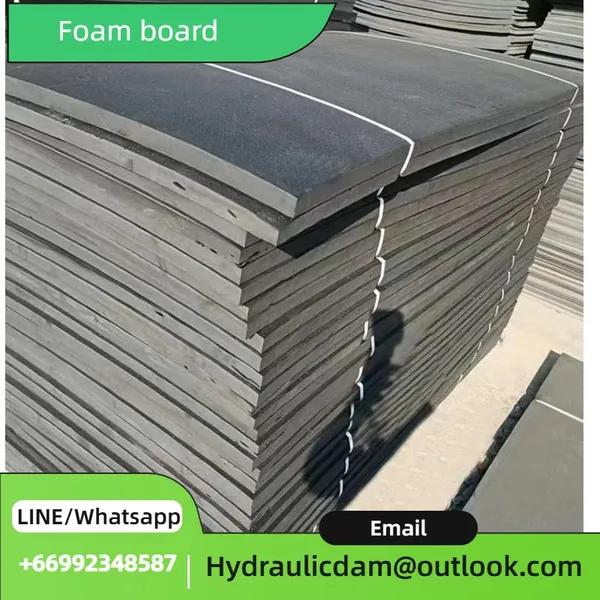
 Low - Density Polyethylene Foam Board - Ideal for Home Decoration InsulationUS$ 89 - 100MOQ: 100 Cubic Meters
 -
Water Retaining Dam: Used to Clean and Retain Water Flow in Swimming Pools, ReusableUS$ 334 - 350MOQ: 5 Combos
-
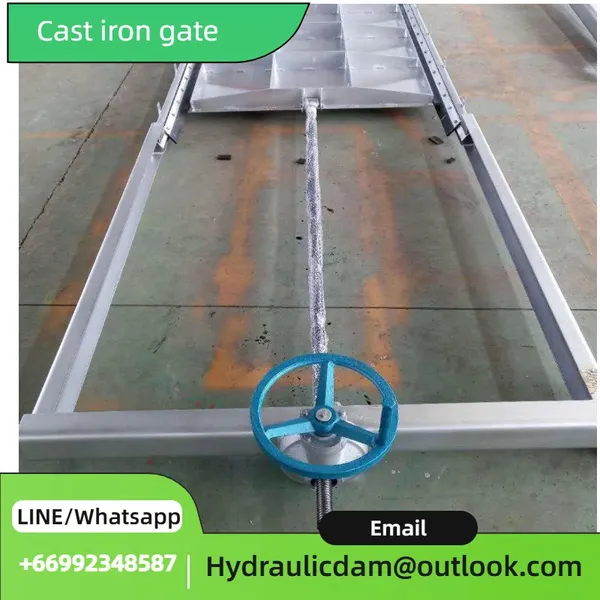
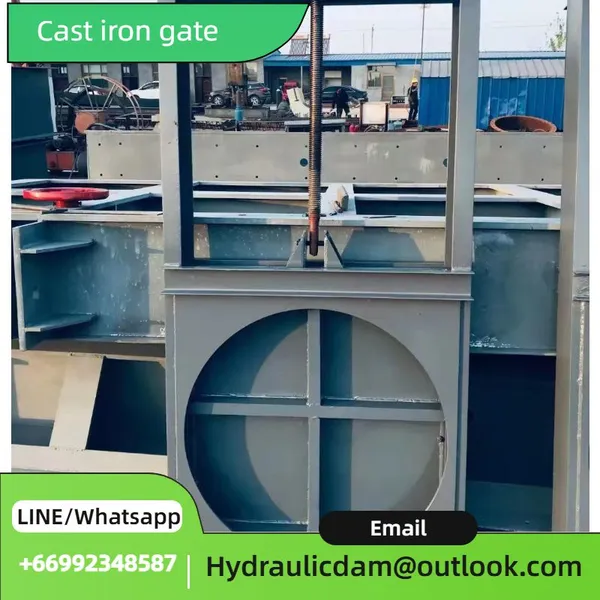
Cast Iron Slide Gate for Water Treatment - Customizable Size, High Sealing PerformanceUS$ 480 - 501MOQ: 5 Sets
-
High Precision Cast Iron Sluice Gate - Suitable for Reservoir, Canal, Sewage Treatment ProjectUS$ 480 - 500MOQ: 5 Sets
-
Heavy Duty Cast Iron Gate for Water Control - Industrial Grade Sluice Gate With Corrosion ResistanceUS$ 480 - 500MOQ: 5 Sets
-
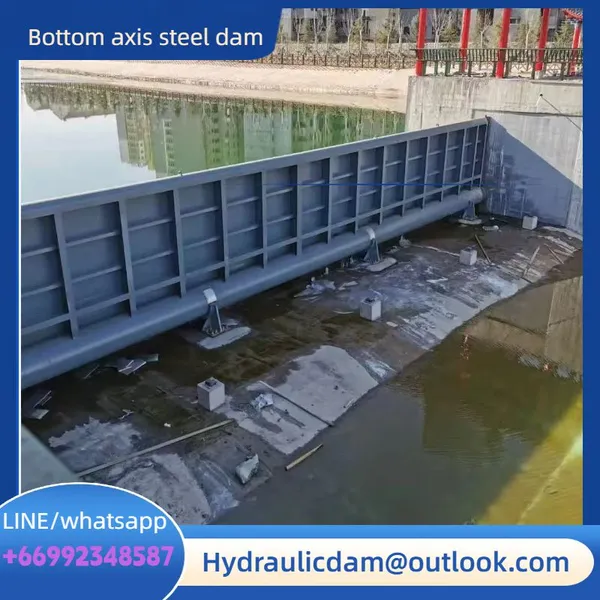
Bottom Axis Steel Dam Hydraulic Engineering Water Interception Dam Steel Dam River Channel Water InterceptionUS$ 499 - 500MOQ: 2 Square Meters
-
Foldable Flood Prevention Embankment Emergency Relief PVC Waterlogging Cofferdam Interception and Water Retaining WallUS$ 334 - 350MOQ: 5 Combos
-
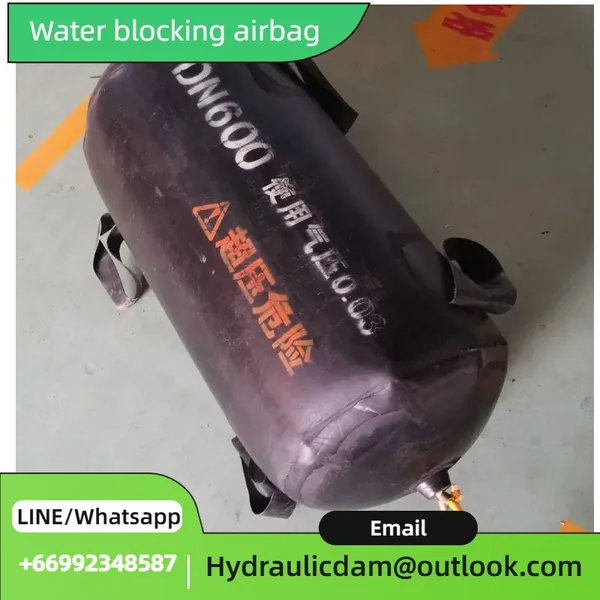
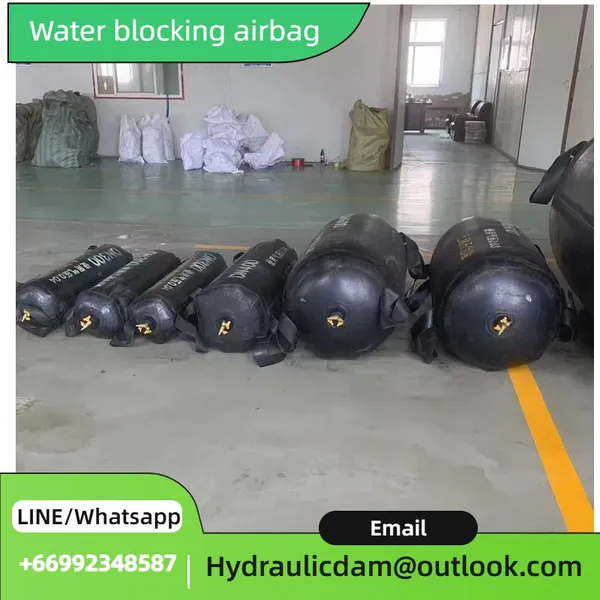
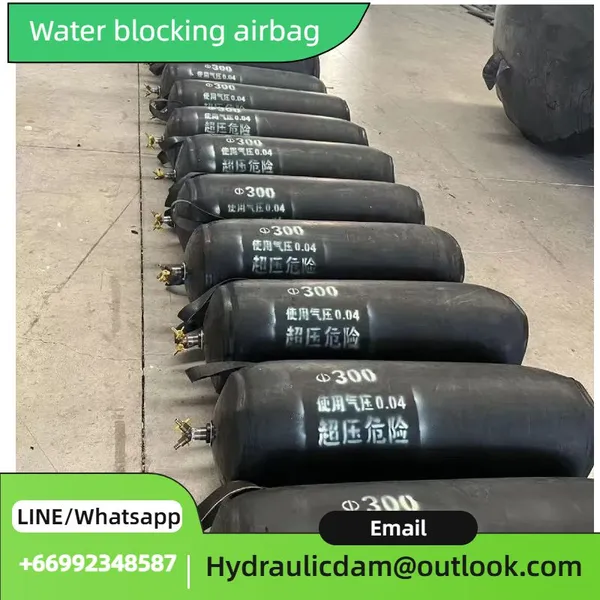
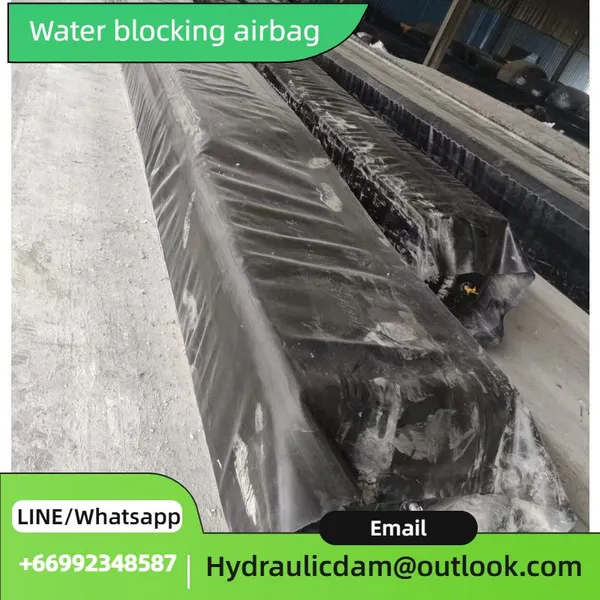
Municipal Pipeline Water Blocking Airbag - Durable Inflatable Plug for Drainage System MaintenanceUS$ 180 - 200MOQ: 10 Combos
-
High Pressure Leak Sealing Airbag for Municipal Pipeline Water Blocking Airbag for Deep Water High-pressure Water Blocking and Leak PreventionUS$ 180 - 200MOQ: 10 Combos
-
Closed Water Test, Thickened Rubber Airbag, Municipal Pipeline Water Blocking Airbag, Inflatable AirbagUS$ 180 - 200MOQ: 10 Combos
-
Bridge Inflatable Core Mold Octagonal Circular Rubber Airbag for Highway BridgesUS$ 180 - 200MOQ: 10 Combos
-
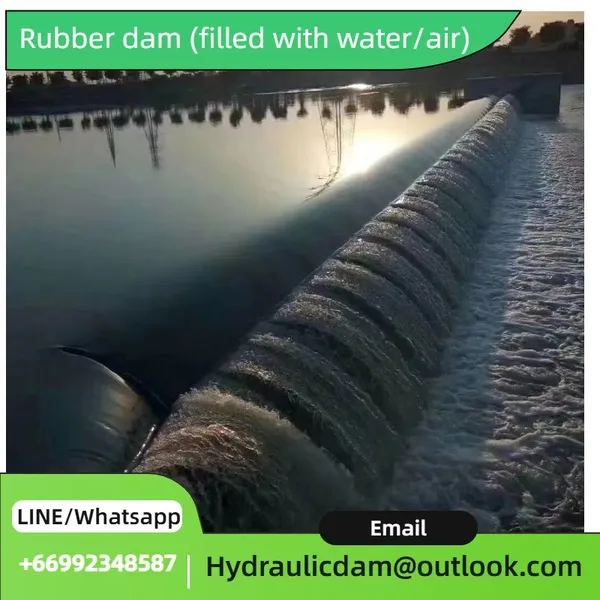
Anti-Leak Rubber Dam - Effective Water Blocking for Gardens, Rivers & Industrial UseUS$ 199 - 200MOQ: 100 Square Meters
-
Pneumatic Rubber Dam - Adjustable Water Retaining for Small to Large-Scale Water WorksUS$ 199 - 200MOQ: 100 Square Meters
-
Durable Rubber Dam - Superior Water Retention for Hydraulic & River Regulation ProjectsUS$ 199 - 200MOQ: 100 Square Meters
-
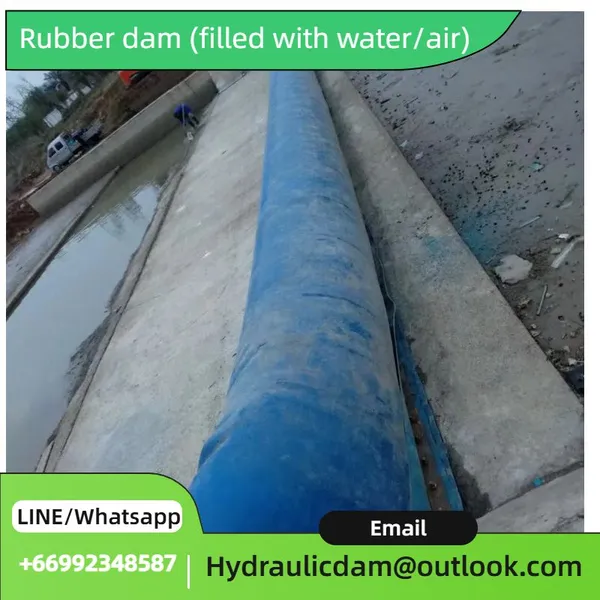
Water-Saving Rubber Dam - Efficient Water Blocking for Agricultural & Urban Water ManagementUS$ 199 - 200MOQ: 100 Square Meters

-
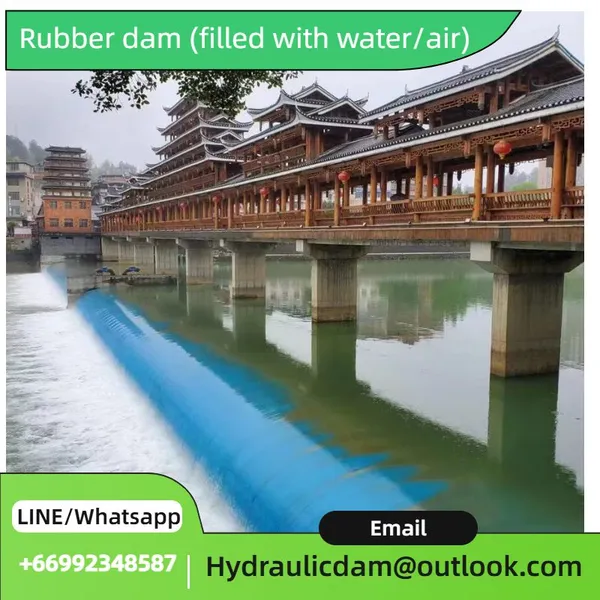
Flexible Rubber Dam - Strong Water Retention Capacity for Water Conservancy EngineeringUS$ 199 - 200MOQ: 100 Square Meters
-
Inflatable Rubber Dam - Reliable Water Blocking for Irrigation & Flood ControlUS$ 199 - 200MOQ: 100 Square Meters
-
Air-supported Barrier Dam - Quick Deployment, Perfect for Temporary Water Retention inUS$ 669 - 699MOQ: 2 Combos
-
Cast Iron Sluice Valve - Reliable Sealing Performance, Perfect for Water Conservancy RetentionUS$ 480 - 500MOQ: 5 Sets
-
Industrial Steel Water Gate - High Strength for Irrigation & Flood Control EngineeringUS$ 480 - 500MOQ: 5 Sets